A hospitality lighting sample should be reviewed as a fixture in a room, not just as an attractive object on a desk. Buyers need to check the specified appearance, light quality, distribution, controls, mounting details, and documentation against the intended location. A sample can reveal design and workmanship issues, while photometric data, electrical testing, and installation review answer separate questions that a visual mock-up cannot settle.
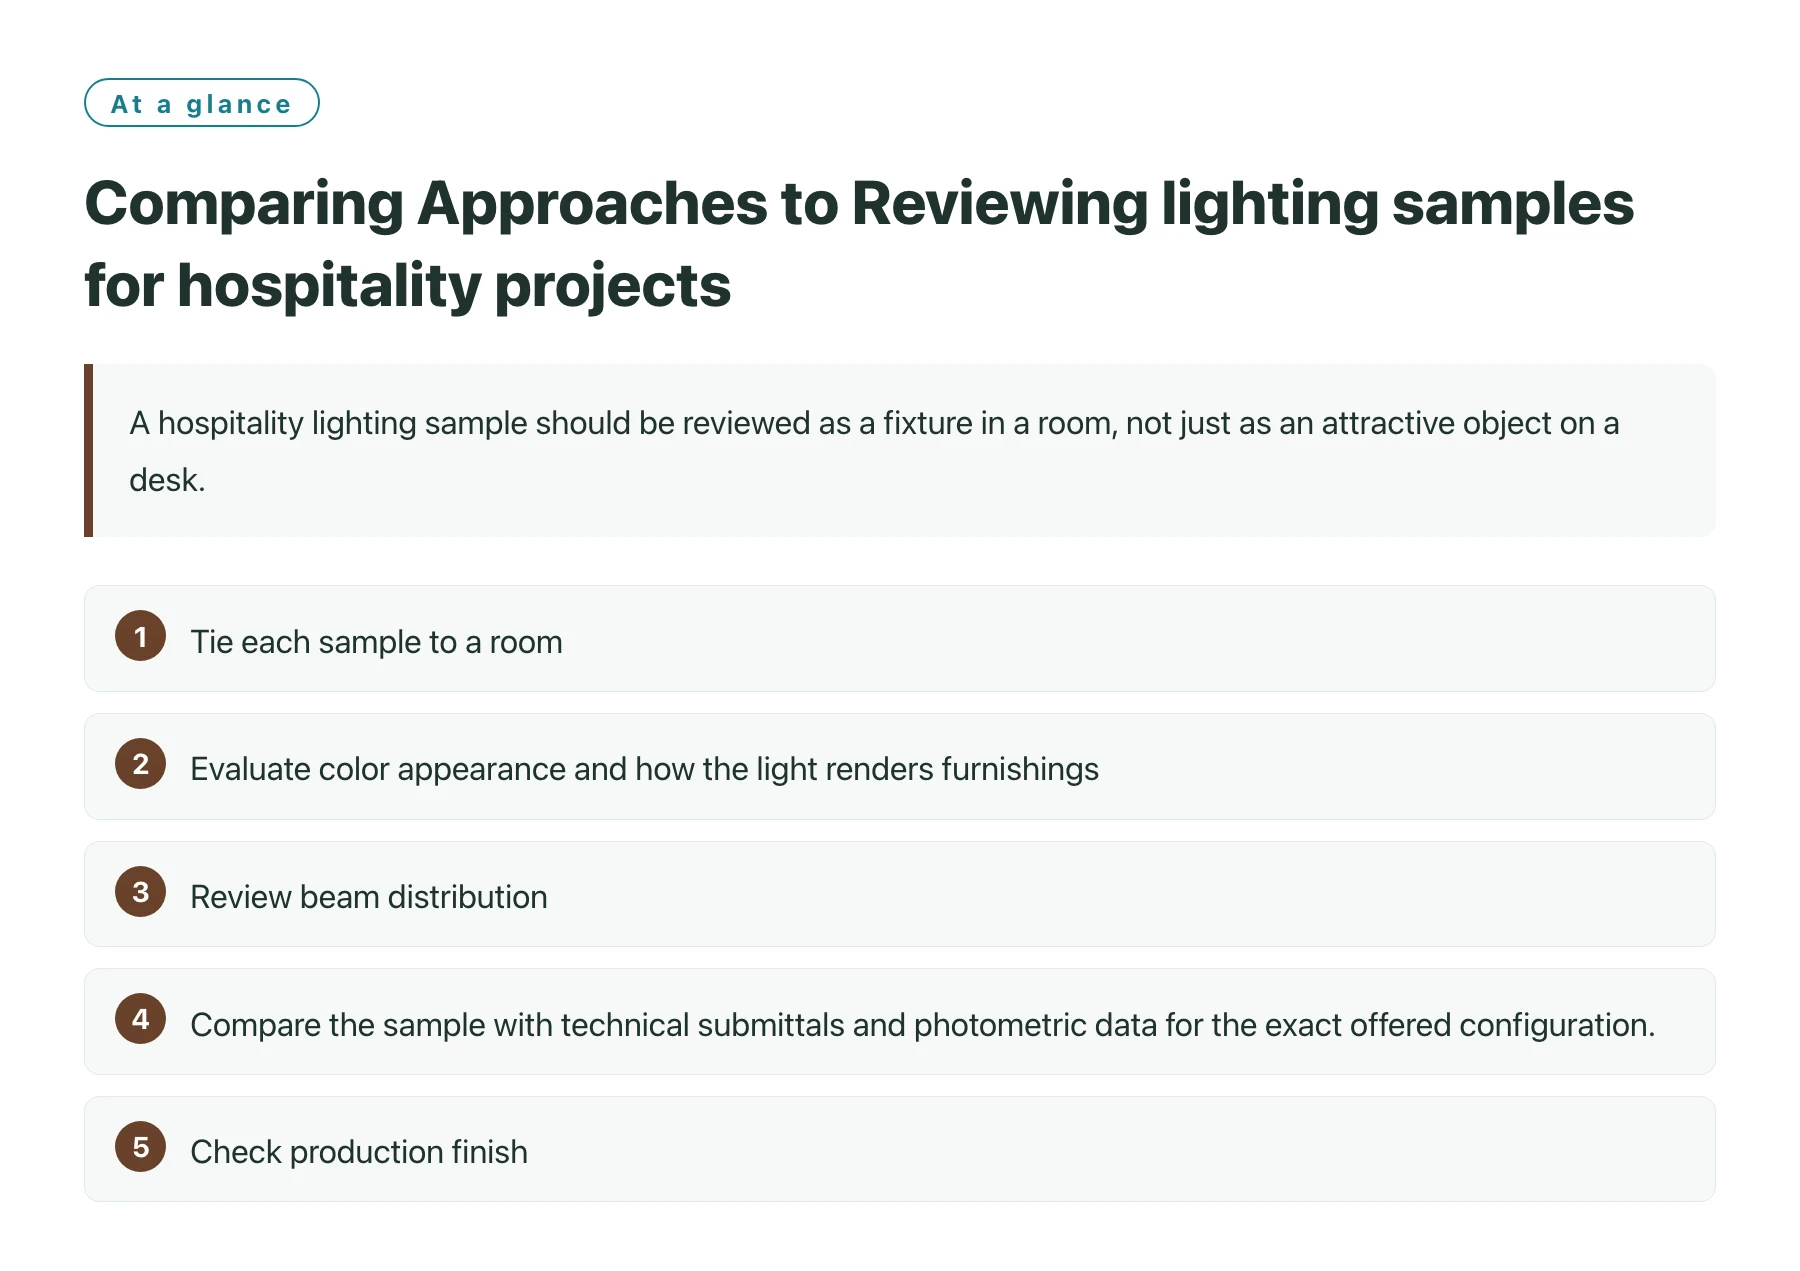
Key takeawaysTie each sample to a room, fixture schedule, drawing revision, finish, and supplier model number. · Evaluate color appearance and how the light renders furnishings, finishes, art, and skin tones in context. · Review beam distribution, glare, dimming behavior, control compatibility, and mounting details separately. · Compare the sample with technical submittals and photometric data for the exact offered configuration. · Check production finish, component substitutions, packaging, spare parts, and agreed acceptance criteria. · Use a full-scale mock-up or appropriate technical test when a desk sample cannot answer the project question.
Hotel lighting is experienced in distinct areas: a guest room, bathroom mirror, corridor, lobby, restaurant, and exterior entrance may all call for different visual and operational results. The Illuminating Engineering Society's hospitality practice treats hotel lighting as a coordinated system of layers and areas, which is a useful reminder to review a fixture in its intended context rather than in isolation.[1] A sourcing review can make that context explicit before a product is approved for production.
Define what the sample is expected to prove
Before requesting a sample, identify its purpose. A finish sample may help approve plating, paint, glass, fabric, or wood tone. A powered prototype may help evaluate brightness, beam shape, glare, dimming, and color appearance. A production-intent sample may help verify assembly, wiring, labels, mounting hardware, and packaging. One sample can support several checks, but only if the buyer lists them and the supplier confirms which parts match the proposed production configuration.
Record the project area, fixture schedule reference, model number, dimensions, finish code, light source, driver, control method, and drawing revision. Note any temporary components or substitutions used in a prototype. If the sample omits a diffuser, trim, shade, driver, or accessory, it cannot demonstrate the final appearance or operation of that configuration. Keep the label and shipment record with the sample so it can be traced during review.
A sample request should state the questions to answer and the measurements or approvals expected, rather than simply asking the factory to send its latest model.
Evaluate color appearance and material interaction
Assess the fixture's finish under lighting conditions similar to the intended space. Gloss, texture, color, and visible seams can look different under daylight, warm interior lighting, or a camera. Compare the sample with approved materials such as wall paint, stone, wood, metal, or textile, and note the viewing distance and surrounding light sources. For a decorative fixture, also inspect transitions between the visible finish and less visible surfaces that may still appear from normal viewpoints.
For LED products, correlated color temperature describes the color appearance of the emitted light, while color rendering metrics describe aspects of how objects appear under that light. The U.S. Department of Energy explains that CCT condenses color appearance and that CRI or TM-30 can be used to quantify color fidelity, with limitations depending on the metric.[2] Compare the actual project requirement and test data instead of assuming that one CCT value guarantees a desired atmosphere or that a single CRI number answers every color question.
If finish consistency across several fixtures matters, review multiple production-representative samples or define a controlled range. One hand-selected prototype may not show the range of finish variation in a larger order. Record acceptable differences and flag any feature, such as a visible red object or artwork, that requires closer color review under the chosen source.
Check how light reaches the task and the surrounding surfaces
A fixture's brightness impression depends on more than the LED package. Lens, reflector, shade, optics, mounting height, aiming, and nearby surfaces all affect where light lands and how bright a guest perceives it. Review a mock-up or photometric layout when the question concerns illumination on a desk, vanity, reading surface, artwork, or corridor. A small sample at tabletop height may reveal appearance, but it will not reproduce the installed geometry.
Check for direct view of bright sources, reflections in mirrors or polished stone, and shadows where a person will stand or work. Note whether the intended result relies on multiple layers, such as ambient, task, decorative, and accent light. The fixture may meet its individual specification while the room still feels uneven if the layout, aiming, or controls differ from the design intent.
When comparing alternatives, use the same room plan, mounting height, aiming, and surface assumptions. Ask for photometric files or test data for the exact product variant being quoted. If a supplier changes a lens or driver, request confirmation of any effect on output, beam, dimming, or color performance before accepting the substitute.
Test controls and electrical behavior
Operate the sample through the full control range and note startup, low-end behavior, flicker visible to occupants or cameras, audible noise, and recovery after a power interruption where relevant. Confirm the control protocol, driver model, wiring diagram, and any required interface components. A fixture that dims with one test control may behave differently in the installed system if the project uses another dimmer or building-control platform.
Ask the supplier to identify the tested combination of luminaire, driver, and control gear. Check whether the sample uses the same firmware, driver settings, and accessories as the production quote. When a guest room uses scene controls, verify the intended scenes with the project's controls designer and electrician; a product review alone cannot confirm system-level integration.
Inspect installation, maintenance, and serviceability
Review mounting points, ceiling cutouts, junction-box access, cable length, weight, support requirements, and clearance for installation. Confirm that the fixture can be installed using the project's actual substrate and mounting detail. For recessed or concealed products, ask for a full-scale detail or mock-up where access, thermal conditions, or alignment could affect the result.
Consider how the fixture will be cleaned, repaired, and replaced. Identify replaceable light sources, drivers, lenses, gaskets, and decorative parts; ask whether replacements will preserve the original appearance. For public areas, maintenance access and replacement procedures may matter as much as the initial sample appearance. Record model and component identifiers in the submittal set so operations staff can later match the installed product to parts documentation.
Compare the physical sample with the supplier's documentation
Check that the model number and options on the sample agree with the quotation, drawings, photometric files, electrical data, finish schedule, and product declarations. Look for inconsistencies in dimensions, input power, CCT, beam angle, driver, control method, mounting, certifications, and included accessories. If data sheets use a family-level range, request a document that identifies the exact configuration selected for the project.
Create an approval record with date, reviewer, location, sample identifier, observations, photos, test results, accepted deviations, and required follow-up. Separate design approval from technical compliance and production release. A design team may approve appearance while engineering still needs to confirm controls or safety documents. Do not allow one sign-off to imply approvals outside the reviewer's assigned scope.
Choose the review method that answers the open question
A finish board is efficient for comparing surface options; a powered sample is better for basic light quality and operation; a room mock-up reveals interaction with actual finishes and geometry; and a test report supports defined performance or safety questions. These methods are complementary rather than interchangeable. Select the least complex method that can resolve the decision, then add a larger mock-up or technical test when the consequence of uncertainty justifies it.
For project teams sourcing View details about hotel lighting, align the sample request with the fixture schedule, room design, control package, and installation responsibility. Record who reviews appearance, who accepts technical data, and who releases the order. That way, a visual preference does not silently override a performance or construction requirement.
Sources
Frequently asked questions
Can a lighting sample confirm the final room illumination?
Usually not by itself. The result depends on fixture optics, mounting, aiming, room geometry, surfaces, and other light sources. Use the appropriate layout data or a room mock-up for questions about installed illumination.
Are CCT and CRI enough to compare hotel lighting?
They describe useful aspects of color appearance and color fidelity, but they do not cover distribution, glare, dimming, control compatibility, or every color-rendering concern. Compare the project requirements and supporting data.
Should every lighting fixture be sampled?
Prioritize fixtures with distinctive finishes, critical visual roles, custom construction, or unresolved technical questions. A project team can use representative samples for standard variants when the configuration and finish are demonstrably the same.
What if the supplier changes the driver after sample approval?
Treat it as a configuration change. Ask for the reason and evidence of any effect on dimming, output, color, controls, electrical requirements, and documentation, then obtain the approvals required by the project.